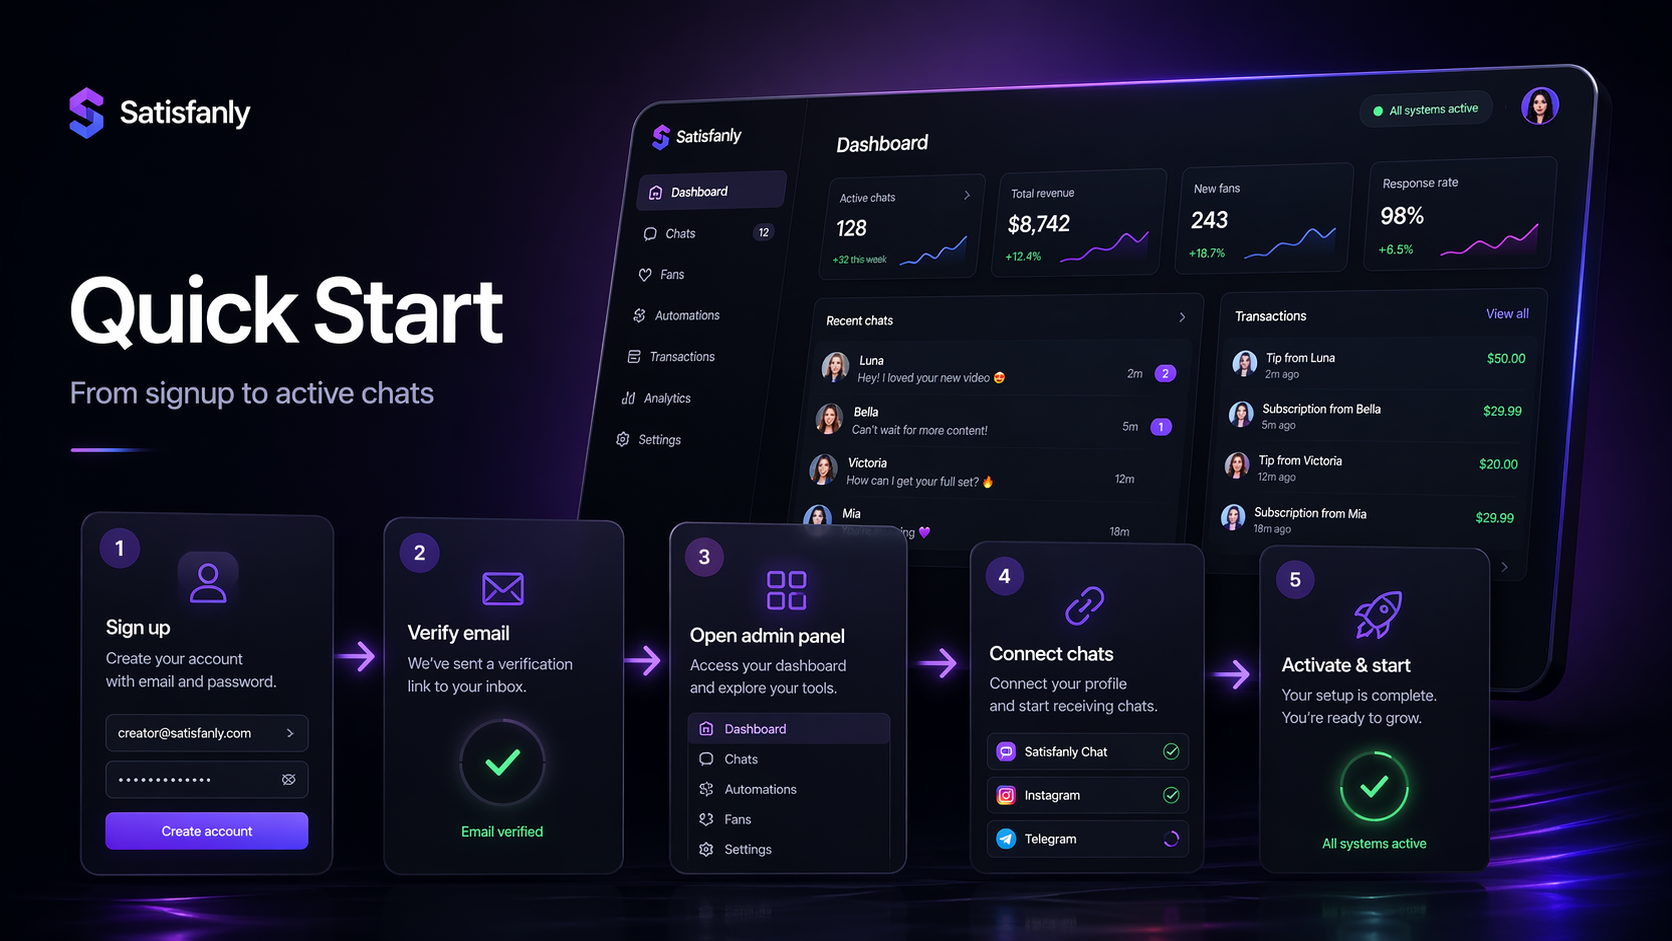
How to Connect a Profile in Satisfanly: From Registration to Launch
Below is a step-by-step guide for connecting a profile in Satisfanly: from creating an account to adding login info and checking that the profile is working inside the admin panel.
What You Need Before Starting
Before connecting a profile, prepare:
- a working email address;
- access to the OnlyFans / Fansly account;
- the profile login and password;
- access to email / 2FA, in case the platform asks for confirmation;
Step 1. Open the Satisfanly Website
Go to:
https://mgr.satisfanly.com/admin/login
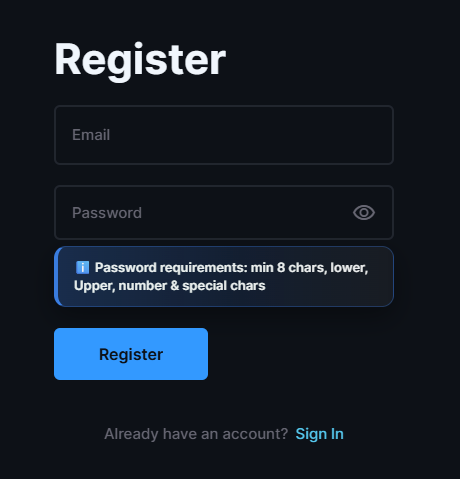
On the registration page, enter:
- your email address;
- your password;
- password confirmation, if required.
After filling in the fields, click Register or Sign Up.
Step 2. Confirm Your Email
After registration, you will receive a confirmation code by email.
Open the email, copy the confirmation code, and paste it into the confirmation field on the website.
If you do not see the email, check:
- Spam;
- Junk;
- Promotions;
- Updates.
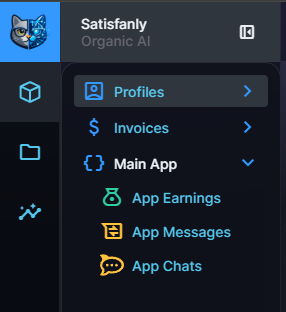
Step 3. Enter the Admin Panel
After confirming your email, you will be redirected to the Satisfanly admin panel.
This is where you manage profiles, credentials, dashboard data, chats, and other settings.
Step 4. Create a Profile
In the left-side menu, open the Profiles section.
Click Add Profile or Create Item, then enter a clear profile name.
Use a name that will be easy to recognize later, especially if you plan to connect multiple profiles.
After entering the profile name, click Save.
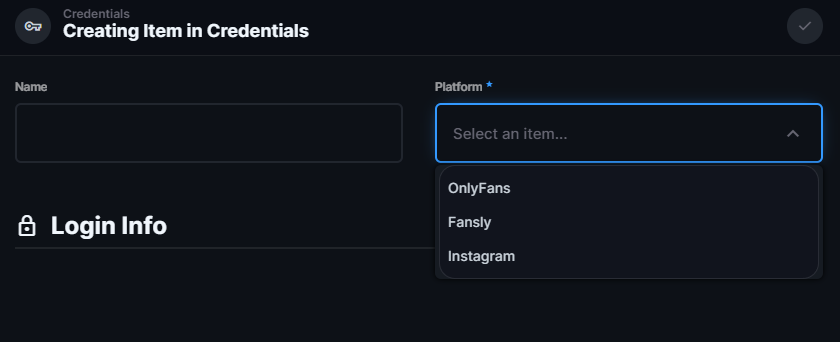
Step 5. Open the Credentials Section
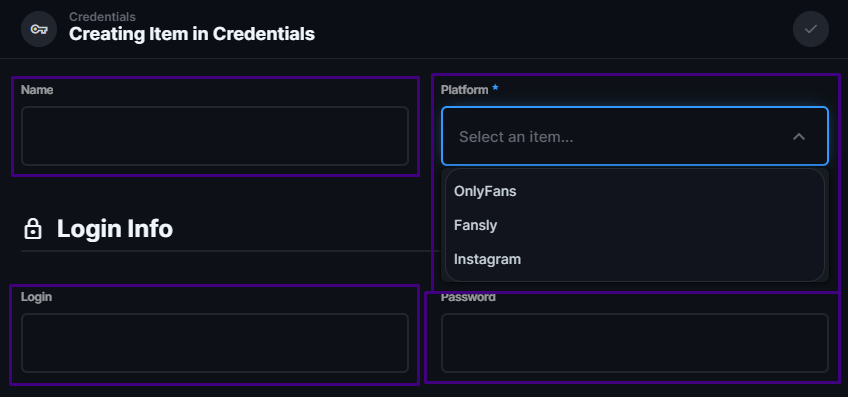
After creating the profile, go to the Credentials section.
This is where you add the login information for the connected account.
Click Add Credentials

Step 6. Select the Platform and Add Login Info
In the Platform field, choose the platform you want to connect:
- OnlyFans
- Fansly
Then select the profile you created earlier.
After that, open the Login Info section and enter the account details:
- Name / account label
- Login for the connected account
- Password for the connected account
After filling in the information, click the check mark icon to save the credentials.
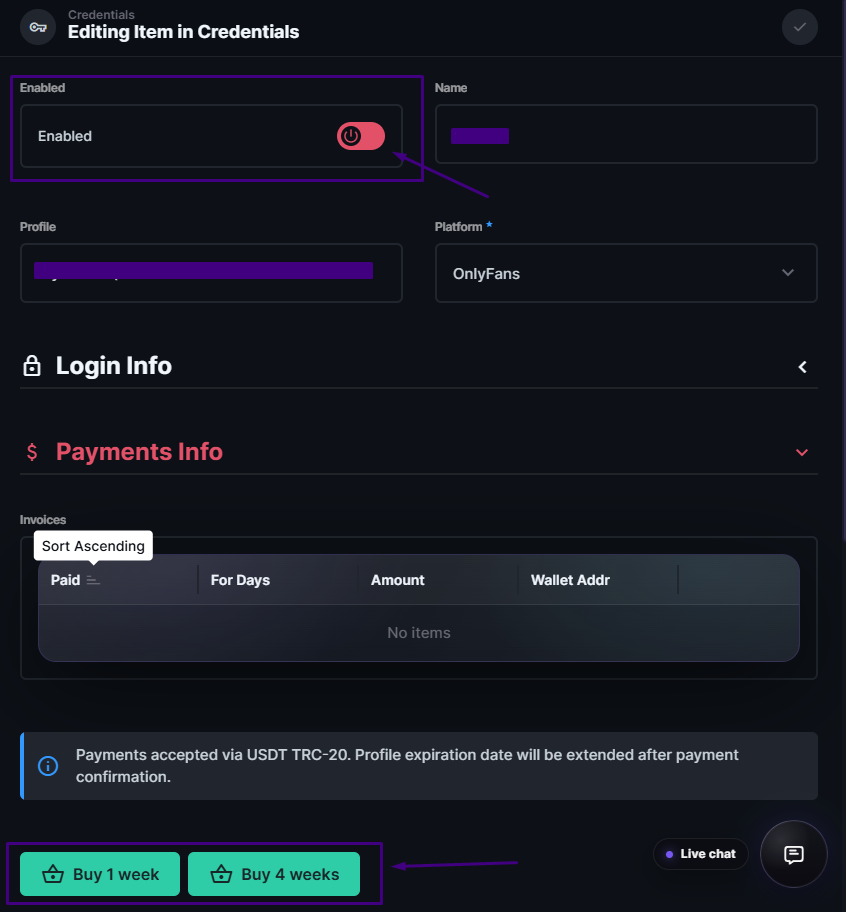
Step 7. Choose a Plan and Activate the Profile
At the bottom of the page, choose one of the available subscription plans:
- 1-week access
- 4-week access
If you choose the 4-week plan, you also help support the further development of our project.
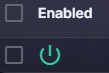
After selecting a plan, use the activation switch at the top of the page to enable the profile and make it active.
Then proceed to the invoice/payment page to complete the process.
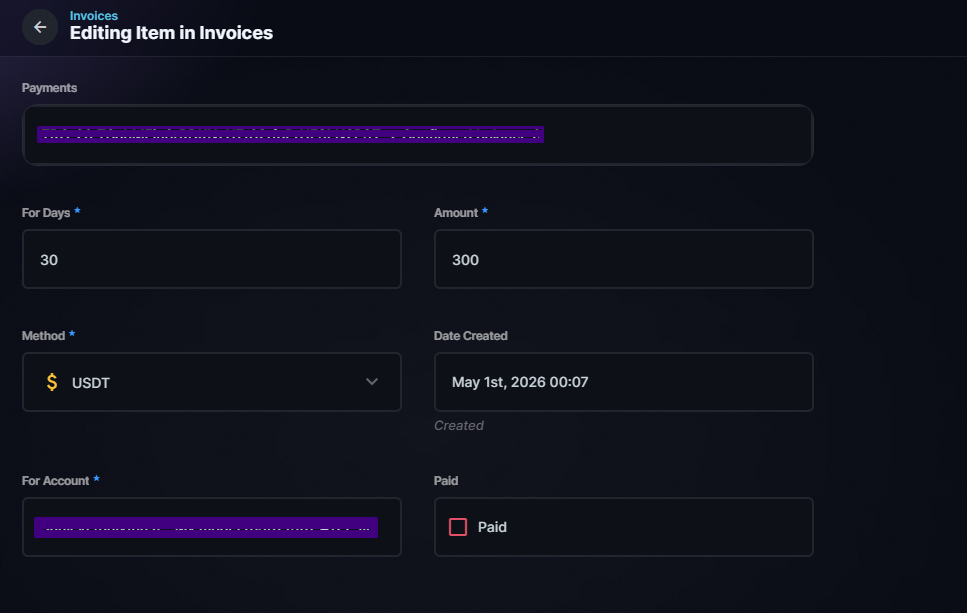
Step 8. Open and Pay the Invoice
After selecting a plan, an invoice will appear.
To complete the payment:
- click the invoice
- click the wallet address shown as clickable text
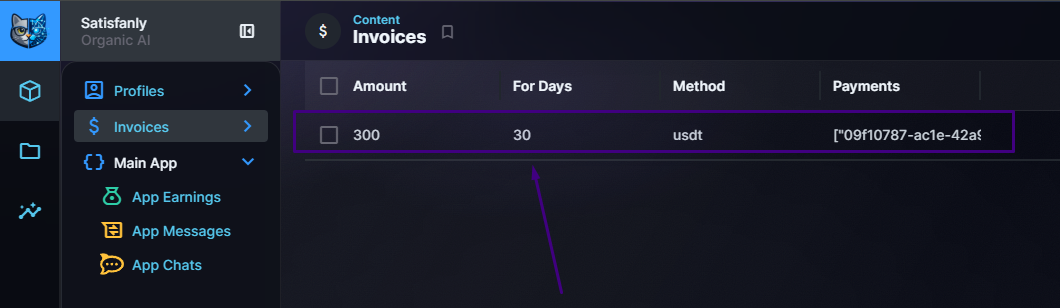
A separate window will open with:
- a QR code
- a button to copy the USDT (TRC20) wallet address
Use this wallet address to complete the payment.
Step 9. Enable the Profile
After the payment is completed and the profile is enabled, you can start using the system.
Once the setup is complete, the main sections of the platform will become available.
Available sections include:
- Statistics
- App Earnings
- App Messages
- App Chats
Done
Use this list to quickly jump to the section you need:
- [What You Need Before Starting]
- [Step 1. Open the Satisfanly Website]
- [Step 2. Confirm Your Email]
- [Step 3. Enter the Admin Panel]
- [Step 4. Create a Profile]
- [Step 5. Open the Credentials Section]
- [Step 6. Select the Platform and Add Login Info]
- [Step 7. Choose a Plan and Activate the Profile]
- [Step 8. Open and Pay the Invoice]
- [Step 9. Start Using the System]